Trail Cam Placement
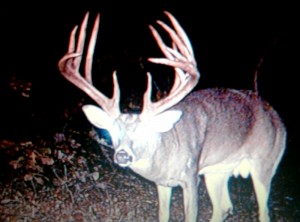
Ok, when it comes to trail cam placement it seems pretty simple – find a deer trail, find a tree to stick your camera to, point it at the trail and you’re done. That’s pretty much it, but I do have a few suggestions that may help you get more than the deer’s behind the next time you check your pics!
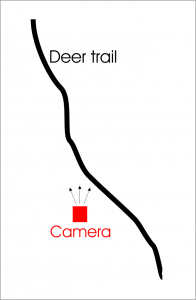
Camera distance from trail and camera angle are the only two things you need to think about. Most of us pic up the trail camera that’s on sale and it’s not til we look at about 20 deer butts in a row that we figure out why we got it so cheap – it has a slow shutter speed. To compensate for this put your camera at an angle to the trail, not perpendicular. This allows the camera more time to take the picture as the deer will be within the camera’s shooting range for a longer period of time. 
Next thing to consider is distance from trail. Too close to the trail and you seriously limit your viewing area, and too far away, you seriously limit the quality of the pics. A good rule of thumb is to place the camera roughly half of it’s max detectible distance away from where you expect to get the best pic, possibly slightly less than half. This seems to give you the correct balance of a clear pic along with the ablility to catch the whole deer and not just its butt, which is inevitably what you get when you only get part of a deer.
One more thing, try and make sure the camera won’t be facing directly into the sunrise or sunset. These are some of the best times to get the best pics and it’s a good chance you’ll catch nothing but a big glare if placed facing east or west.
An hour presentation can be done on trail cameras and the correct placement, but these few tips here seem to have been the most helpful ones I’ve experienced to help ensure some good pics of your deer.
Good luck – send me some of your pics!! hunterbydesign@gmail.com
